Wednesday, 2 April 2025

Encounter at Eecloo 11th October 1914 - Part 1


Having finally finished our War of the Three Kingdoms Irish scenarios for the "For King and Parliament" ruleset we decided to play some other periods that have not been on the table for a while.

 One of these is TFLs "If the Lord Spares Us" ruleset, but set in France during the opening few months of the 1914 campaign, before the widespread use of trenches became the norm for WW1. So I hit the books and came up with this scenario, which is based on actual events. All the commanders names are historically correct.

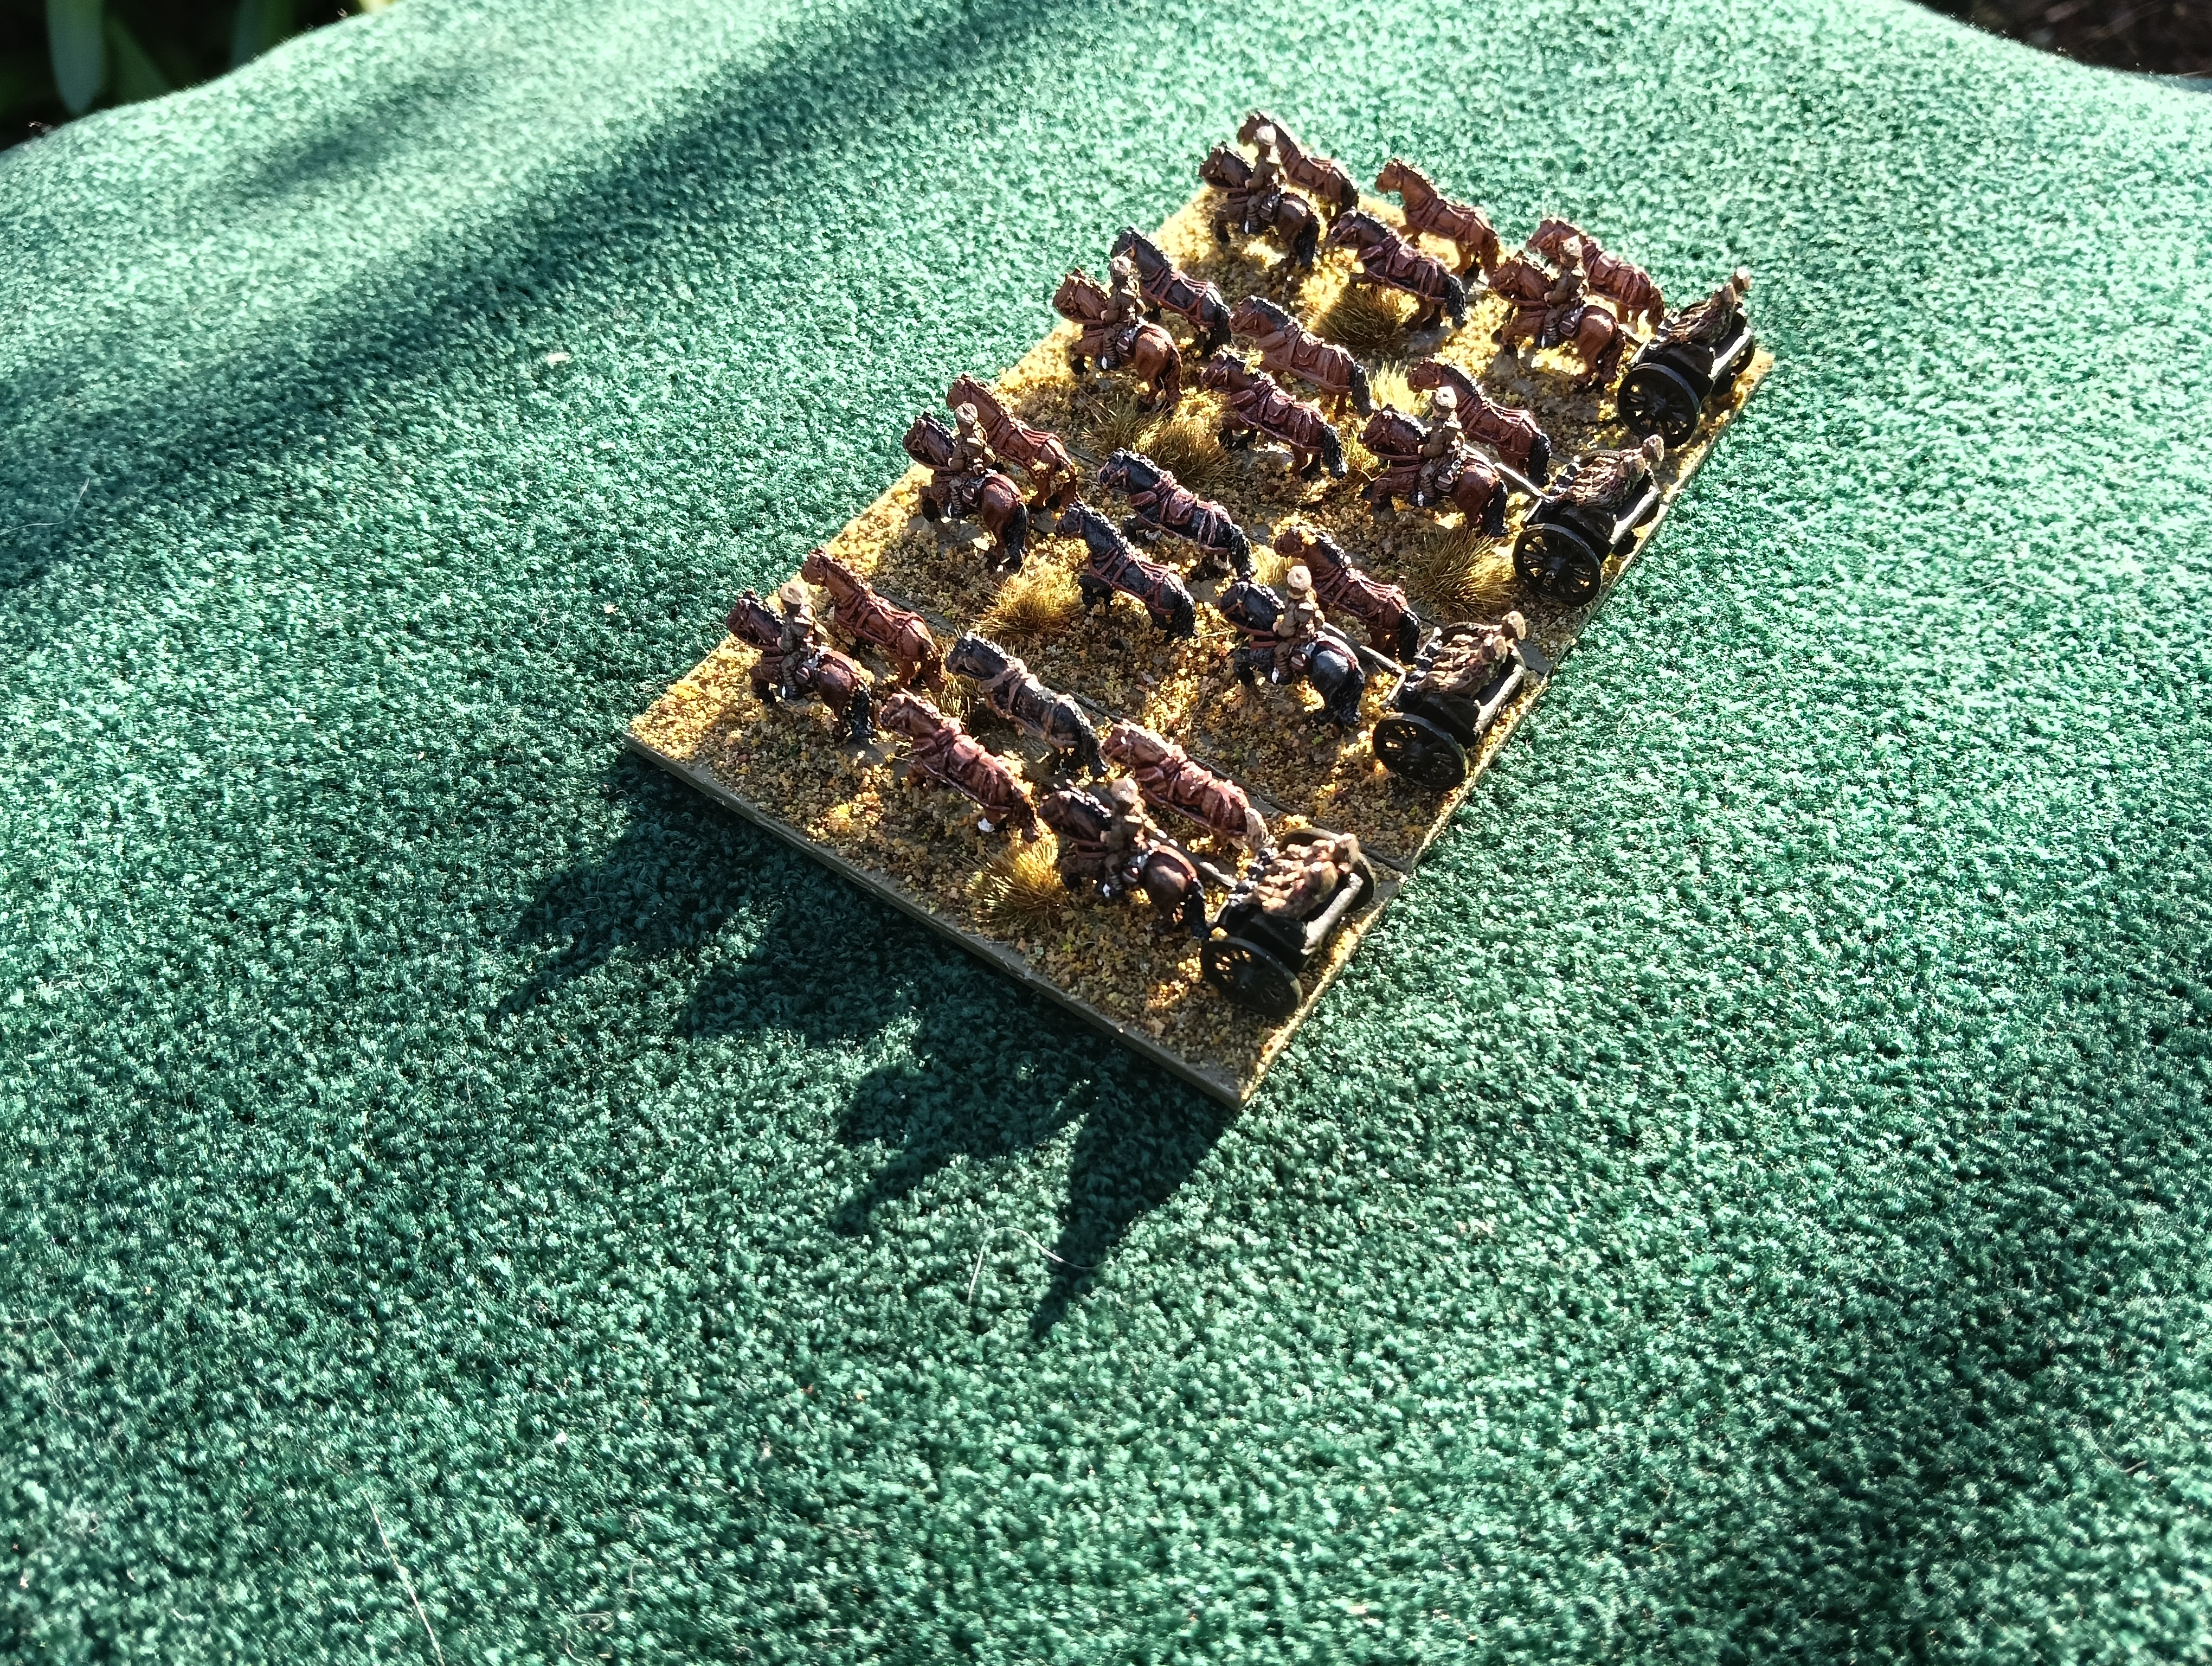
The forces used are all 10mm Pendraken Minatures figures, with 6mm buildings of indeterminate origin that I bought online years ago.

 Background

By early October 1914 the first major reinforcements for the BEF became available through dispatching the regular troops garrisoning overseas possessions back to the UK to form the 7th Division. On the continent the initial actions of the war had taken place and the German Army had taken the strategic Belgian port of Antwerp after overcoming its fortifications using super heavy artillery. The Belgian Army, fearing encirclement by the Germans as they raced towards the Channel Coast, decided to retreat to behind the Yser River. The river level could be controlled, allowing low lying areas to be inundated to stop any German advance, while at the same time holding a small but symbolic piece of Belgian soil. To assist with covering the Belgian retreat the British 7th Division, under the command of Major General T. Capper, was landed at the Belgian ports of Zeebrugge and Ostende and quickly moved inland.

Also landed were elements of the 6th Cavalry Brigade of the 3rd Cavalry Division. Together these two Divisions were formed into the newly established IV Corps under the command of General Sir Henry Rawlinson.

Another British force landed at Ostend, at the request of Winston Churchill, 1st Lord of the Admiralty, was from the Royal Naval Air Service. Under the command of Wing Commander Sampson, the Eastchurch Squadron had some early armoured Rolls Royces armed with MG’s and with orders to “help spot enemy incursions”. 

 The 6th Cavalry Brigade was posted South of Eecloo, where the main east-west road used by the Belgians to retreat ran through. Early on 11th October British pickets reported contact with scouting German Dragoons.

The Game

Brigadier Makin, commander the 6th Cavalry Brigade, studied the terrain around the village of Somergem though his binoculars as the sun rose.  

The table from the British Lines

...and from the German point of view

Last night Makin had been summoned to the headquarters of Lt General Rawlinson, Commanding IV Corps, at Bruges to plan the next day’s operations to assist the retreating Belgians.

 The Corps commander’s words still rang in his ears “You must hold the Germans if at all possible – Don’t let them break through!”. Makin was determined to do his best, but wondered if his hastily assembled, but still understrength brigade could hold on without the assistance of 20th Infantry Brigade. He had only two complete cavalry regiments at his disposal, (the 3rd Dragoon Guards were still in Egypt) plus a lone section of 13 pdrs from C Battery RHA. Under command he did have some early Rolls-Royce armoured cars crewed by eager volunteers from the Royal Naval Air Service’s Eastchurch squadron.

 Intelligence suggested he was facing part of the German III Reserve Corps that had recently been in action around Antwerp. It did not however suggest how big a force he may be facing….

 Makin decided to deploy his two cavalry units in the available terrain to cover the likeliest German axies of advance. 1st Dragoon Guards were posted just West of Somergen village covering the main road out of the village, supported by the RHA guns. Meanwhile 10th Hussars were spread out in some large hedgerowed fields to the south.  Brigade HQ and the RNAS cars were deployed some way behind 1 DG, so as to be able to react to German forces on either side of the village.

6th Cavalry Brigade deploys

 The Brigade did not have to wait long for the Germans to emerge from the early morning mist as what was obviously a large force advanced onto the table. Makin’s pickets soon determined that the enemy force consisted of an entire regiment of infantry on each half the board. Each Regiment had 3 battalions, a Regimental MG company and an attached abteilung of 77mm artillery. Additional German forces in the shape of a Divisional cavalry regiment and a unit of Jagers in their peaked shakos were also seen advancing.

 Makin urgently signalled Brigadier Riggles-Brise of 20th Infantry Brigade to urgently march to his assistance as it was soon apparent that 6th Cavalry Brigade could not expect to check the German advance alone.

 On the British right wing the 10th Hussars soon found themselves in a serious firefight that the dismounted cavalry could not sustain. Facing an entire infantry regiment plus its supports and outflanked by Dragoons two of the Hussar squadrons were destroyed. After inflicting some casualties themselves the remaining Hussars, little more than the small HQ party and one troop of “A” Squadron, were steadily fell back as the enemy pushed forward.

The 10th Hussars in a spot of bother...

The 1st Dragoon Guards fared a bit better, their fire stopping the leading German battalion from exiting Somergem, while the RHA peppered another battalion with shrapnel. However “B” squadron covering the village itself took heavy casualties. Seeing this the leading company of the attached German Jager battalion which was moving round the side of the village decided to charge the Guards. The British regulars, despite being outnumbered 2:1, were having none of it and easily saw off the Jagers (I rolled two 6’s!).

The situation on the German right wing

Behind them the RNAS finally came into action having missed out being activated twice by the fact that the second tea break card was turned before theirs. Makin ordered them to the right to offer some support to the retreating Hussars.      

 On the last turn of our first gaming session some hope arrived for the British.

 Sitting on his horse Brigadier Makin could hear the unmistakable sound of bagpipes approaching as 20th Infantry Brigade finally arrived.  At the head of the column came Brigadier Riggles-Brise’s HQ, which joined Makin’s Cavalry HQ in the centre. Next came 2nd Battalion Scots Guards, headed by two pipers playing the regimental march “Highland Laddie”. Then it was 2nd Battalion Gordon Highlanders, with their pipers delivering a rousing rendition of “Cock o’ the North”.

These two units went to the right flank with the brigade’s attached artillery from F Battery RHA.

20th Infantry Brigade deploys

The last unit to arrive was 2nd Battalion of the Border Regiment which advanced through the woods on the British left flank.

The Border Regiment arrives on the British left flank

It was getting late so we paused the game there, agreeing to conclude the game next weekend.


Monday, 16 December 2024

"And the dawn comes up like thunder"


The Inspiration

They say that imitation is the sincerest form of flattery, so it is with the recent GQ2 scenario that I put together for our regular Saturday night gamers.

Christchurch based gamer Keith McNelly recently posted a battle report on his blog about a test game of a mini-campaign he has been involved with about Force Z meeting one of the various Japanese forces covering the landings in southern Siam and Malaya early on 10 December 1941.

I actual did have some thoughts about such a scenario which I had started months ago, but seeing Keith’s report inspired me to finish the scenario I had in mind. It was a little bit different, being set further up the coast and with Force Z having a few more ships that could have been present on that fateful morning. 

The Background

Sometime previous to the outbreak of war the British leadership had come up with a plan to dispatch a force of several heavy naval units to Singapore as a deterrent against any Japanese aggression in the Far East as the clouds of war grew darker. In the end the Admiralty, balancing the need to retain enough capital ships for use in European and Mediterranean waters, dispatched the near new battleship HMS Prince of Wales and the veteran battlecruiser HMS Repulse to undertake the mission to Singapore. This pairing, along with its escorting destroyers was designated “Force Z” under Admiral Sir Tom Philips, who assumed command of the Far Eastern Fleet on arrival in Singapore on 2 December 1941, less than a week before the outbreak of war.

Two years of war in other theatres meant that there was little available in the way of suitable cruisers and destroyers remaining in the Far Eastern Fleet to support the much- vaunted Force Z. Fortunately for the British the Americans were willing to honour earlier agreements made between the British, Dutch NEI and American governments if war should come to the region. Admiral Thomas Hart, the commander of the small American Asiatic Fleet based in the Philippines, agreed that a division of four USN destroyers would be sent to Singapore to assist with the defence of Malaya if war did break out. 

The IJN, as usual, came up with a complex naval plan to enable them to launch the Imperial Japanese Army’s invasion of Siam and Malaya. Some days prior to the start of the war a large, well escorted convoy of some 28 transports sailed from ports in Formosa (now Taiwan) carrying the invasion force itself.  The Japanese were only too well aware of the potential threat to their invasion plans that the recently arrived Force Z posed. As well as local escorts being provided for each of the invasion beaches the IJN plan provided for two covering forces to counter any Allied naval intervention.

Firstly Vice Admiral Ozawa, flying his flag in the heavy cruiser Chokai, with all four Mogami class heavy cruisers of the 7th Cruiser Squadron and escorted by the light cruisers Kinu and Yura and a division of destroyers would stand off the Malayan coast to form the Close Covering Force.

In overall command of the IJN’s Southern Expeditionary Fleet was Vice Admiral Kondo in the heavy cruiser Atago, which along with the battlecruisers Kongo and Haruna, heavy cruiser Takao and three destroyer divisions made up the second or Distant Covering Force which took up a position to the east of Cape Cambodia.  

The Japanese also mined the north-eastern portion of the Straits of Jahore with disguised minelayers just prior to the outbreak of war and had two divisions of fleet submarines deployed in patrol areas straddling the most likely routes that the British ships may have taken to attack the landing forces from Singapore.  But perhaps the most underestimated force that the Japanese deployed against the Royal Navy in the South China Sea were the 100+ land-based attack aircraft of the 22nd Air Flotilla, commanded by Rear Admiral Matsunaga, based at various airfields in Southern French Indo-China.

Admiral Philips sallied from Singapore in the early evening of 8 December and by taking a wide sweeping course to the east of the Anamba Islands, managed to avoid detection, aided by the worsening weather. He then turned north and around 1330 on 9 December was fleetingly spotted by the submarine I 65 on the eastern tip of one of the Japanese submarine patrol lines. I 65’s report created considerable consternation amongst the Japanese commanders.  Rear Admiral Matsunaga immediately ordered off search planes and a strike force was made ready. Some 50 mainly torpedo armed G3M and G4M bombers took off for the long flight to the area where the sighting had occurred. Ozawa likewise turned south to intercept the enemy force which he estimated to be about 120 miles away, his cruisers catapulting several seaplanes to assist with the search as well.

Unaware of the panic that his force was creating Phillips continued to the north, turning onto a course of 320 degrees at 26 knots at 18.50 with the intention of arriving off the invasion beaches of Singora and Pattani in Southern Siam at daybreak on 10 December.

Around 1900, an hour after sunset, the destroyer Electra reported sighting an aerial flare some 5 miles to the north. Phillips immediately turned sharply away to the south, thus avoiding a night action with Ozawa’s cruiser force which almost came within sighting distance of Force Z.

Ozawa’s ships had continued south after I 65’s sighting and were nearing the position of the sighting as darkness rapidly fell. Unfortunately for the Japanese the searching planes from 22nd Air Flotilla also now arrived on the scene and in the darkness one plane spotted darkened shapes of ships below. A flare was dropped and other planes summoned to commence their attacks. To the horror of those on the bridge of the Chokai it dawned on them that it was the flagship itself that had been illuminated! Ozawa hurriedly turned away to the north and signaled Matsunaga to recall his planes at once, narrowly avoiding a disastrous turn of events.

The Scenario

This scenario presumes that Ozawa’s evasion to the north during the night resulted in the Japanese Close Cover Force not being able to interfere with Force Z as it proceeded en-route towards the waters off Singora.

Instead, realizing that Ozawa’s cruisers had lost contact with Force Z, Vice Admiral Kondo raced westward at high speed with his Distant Cover Force in an effort to protect the vulnerable beachheads that the Japanese Army had just secured on the East coast of Malaya and Siam.

This game seeks to explore what may have occurred if Admiral Phillips had a some light cruisers and USN destroyers available and the two forces had met at dawn, before Matsunaga’s planes could return.

The victory conditions require Force Z to navigate the length of the table and exit the opposite corner in order to approach the Japanese landing forces. However they must also take into account the need to keep their fleet intact as possible for future operations as no further reinforcements could be expected to arrive for some time, if at all. So, if any Allied ship receives more than 4 complete damage boxes, either hull or armament, it must withdraw to the south and attempt to return to Singapore for repair.

Historically, the bombers of the 22nd Air Flotilla did finally track down Force Z off Kuantan during the afternoon of 10 December 1941 and sent both Prince of Wales and Repulse to the bottom with the loss of 47 officers and 793 ratings.        

The Game

The game started at dawn, on another hot sunny day in the South China Sea so visibility was not an issue. The IJN had their three destroyer divisions in the van, both to cover their heavy units and to be able to launch a torpedo attack if so required.


The RN players had decided to lead with their heavy units and keep their cruisers and destroyers back to counter any offensive moves that the more numerous and better armed Japanese destroyer divisions may perform.


The IJN destroyers soon found themselves under heavy fire from the Allied ships, with several being hit. HMS Repulse started strongly, opening fire and straddling the Huruna with her first salvo, which slowed the Japanese battlecruiser’s speed for the rest of the game.

But the British didn’t have it all their own way, as both the British capital ships and the light cruiser Dragon were hit in subsequent turns by the Japanese heavy units. As this exchange was going on the Japanese destroyers were attempting to close with the British battleline. In GQ1/2 Japanese 24” torpedoes have tremendous range (80cm) compared to all others (40 cm), but it takes them two turns to arrive at anything over 40cm, meaning that the Japanese players must correctly guess the sector that the target ship will end up in for two turns. Sounds easy? It’s a bit of an arcane art believe me! So we decided to try and close to within 40cm of the British line before firing.  


    The Japanese destroyer Akatsuki was hit hard by a storm of British fire and eventually hauled round to port out of line, unable to keep up with her squadron mates. Meanwhile the Takao continued to pound the Dragon for several turns, eventually forcing her to withdraw from the fray and begin the long limp back to Singapore as she was over 50% damaged with 6 1/2 out of 8 damage boxes lost.

The Japanese battlecruisers also found their range, especially on the Repulse which was hit several times, though Prince of Wales came in for some punishment as well.  

At this point the British line was taking a bit of a pounding and so they decided to bring up the USN four stackers to counter the approaching Japanese destroyers that were coming into range.


The leading USN Destroyer, USS Whipple, was pounded by the modern 5” guns of her Japanese oppenents and forced to turn away. Unforturnately for the Allies the Repulse was also hit again at this point, taking her over the 50% damaged threshold.

Taking into account his various damaged ships and the fact that the Japanese destroyers were well within torpedo range Admiral Philips reluctantly decided that Force Z must be kept intact and ordered a turn to the south, hopefully to be within range of the promised RAF fighter cover before the 22nd Air Flotilla could arrive to attack later that morning.

No ships were actually sunk in the game though several ships from both sides were quite heavily damaged, including 3 Japanese destroyers, though of the larger Japanese units only the Haruna was hit.

Thanks to Paul R for providing the Japanese ships and the four usual Friday/Saturday night regulars for agreeing to play my scenario.